概要
以下、自分用のメモです。忘れないうちにメモメモ。。
Flutter始めた頃、ウィジェットの表示・非表示を切り替えるのどうやるのか分からなくて、ちょっと困っていました。
Flutterでウィジェットの表示・非表示を切り替えるには Visibility ウィジェットを使用します。
情報を探していたときに Opacity の値を操作するサンプルが沢山出てきました。こっちでもオッケイですねー。
サンプル
import 'package:flutter/material.dart';
import 'package:get/get.dart';

/// 表示/非表示を管理するコントローラーです.
///
/// ### REFERENCES
/// - https://pub.dev/packages/get
class _VisibleController extends GetxController {
  final _visible = true.obs;

  bool get visible => _visible.value;
  void toggle() => _visible.value = !_visible.value;
}

/// Visibility ウィジェットのサンプルです.
///
/// ### REFERENCES
/// - https://api.flutter.dev/flutter/widgets/Visibility/Visibility.html
/// - https://zenn.dev/junki555/articles/038ed853bd72757e7ac2
/// - https://pub.dev/packages/get
class WidgetVisibility extends StatelessWidget {
  const WidgetVisibility({Key? key}) : super(key: key);

  @override
  Widget build(BuildContext context) {
    final c1 = Get.put(_VisibleController(), tag: 'btn1');
    final c2 = Get.put(_VisibleController(), tag: 'btn2');

    return Scaffold(
      appBar: AppBar(
        title: const Text('Widget Visibility'),
        centerTitle: true,
      ),
      body: Center(
        child: Column(
          mainAxisAlignment: MainAxisAlignment.center,
          children: [
            Obx(
              () => Visibility(
                visible: c1.visible,
                maintainAnimation: true,
                maintainState: true,
                maintainSize: true, // 非表示でも元のサイズを保つ
                child: ElevatedButton(
                  onPressed: c2.toggle,
                  child: Text(c2.visible ? '下のボタンを消す' : '下のボタンを表示'),
                ),
              ),
            ),
            const SizedBox(
              height: 10.0,
            ),
            Obx(
              () => Visibility(
                visible: c2.visible,
                maintainAnimation: true,
                maintainState: true,
                maintainSize: false, // 非表示になると元のサイズは保たない
                child: ElevatedButton(
                  onPressed: c1.toggle,
                  child: Text(c1.visible ? '上のボタンを消す' : '上のボタンを表示'),
                ),
              ),
            ),
          ],
        ),
      ),
    );
  }
}
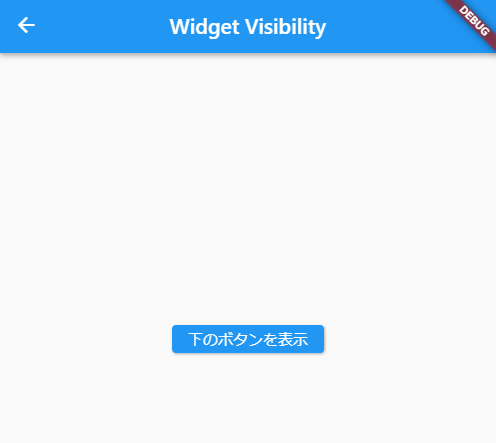
実行すると、こんな感じ。

「下のボタンを消す」ボタンをクリックすると、ボタンが一つ消えます。
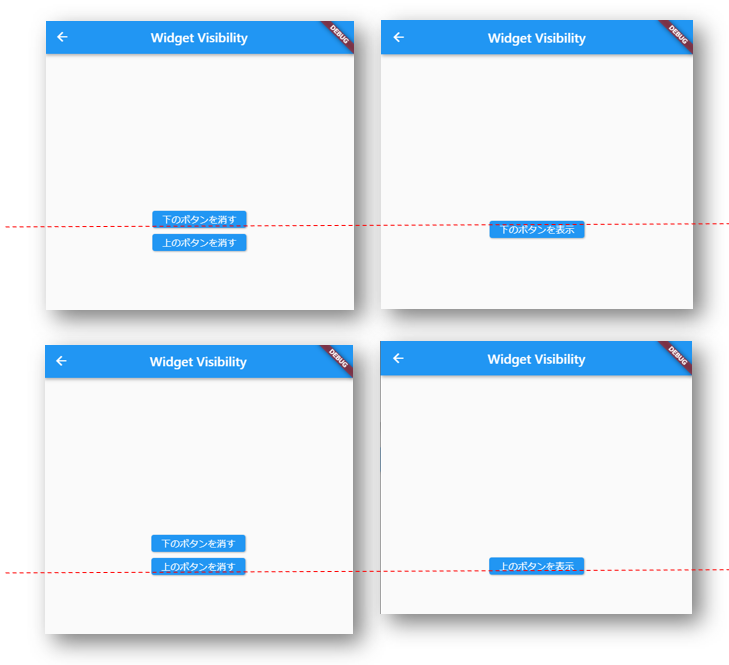
下のボタンは非表示になった際に元のサイズを保持しないように設定しています。
            Obx(
              () => Visibility(
                visible: c2.visible,
                maintainAnimation: true,
                maintainState: true,
                maintainSize: false, // 非表示になると元のサイズは保たない
                child: ElevatedButton(
                  onPressed: c1.toggle,
                  child: Text(c1.visible ? '上のボタンを消す' : '上のボタンを表示'),
                ),
              ),
            ),
なので、ボタンが非表示になると同時にサイズが変化するので、上のボタンの位置が移動します。(図では分かりづらいですがw)
(自身の親ウィジェットである Column ウィジェットで MainAxisAlignment.center を指定しているので、真ん中に移動する)
今度は逆に「上のボタンを消す」をクリックすると、上のボタン側は非表示になっても元のサイズを保持するように設定しています。
            Obx(
              () => Visibility(
                visible: c1.visible,
                maintainAnimation: true,
                maintainState: true,
                maintainSize: true, // 非表示でも元のサイズを保つ
                child: ElevatedButton(
                  onPressed: c2.toggle,
                  child: Text(c2.visible ? '下のボタンを消す' : '下のボタンを表示'),
                ),
              ),
            ),
なので、ボタンを非表示にしてもサイズは保持されているので残ったボタンの位置が動きません。
参考情報
過去の記事については、以下のページからご参照下さい。
- いろいろ備忘録日記まとめ
サンプルコードは、以下の場所で公開しています。
- いろいろ備忘録日記サンプルソース置き場